Quickstart
This guide will walk you through the steps to get Gosuki up and running. Gosuki supports Linux, macOS, Windows, and BSD (FreeBSD, OpenBSD, NetBSD).
macOS is available via Homebrew. Windows has full build support with systray. BSD platforms are fully supported.
Releases
Release Binaries
Arch Linux

Installing from AUR package registry:
paru install gosukiUbuntu / Debian
To set up the repository on Debian, follow these steps:
Add the GPG key:
sudo curl https://git.srv.blob/api/packages/gosuki.net/debian/repository.key -o /etc/apt/keyrings/gosuki.ascAdd the repository to your sources list:
echo "deb [signed-by=/etc/apt/keyrings/gosuki.asc] https://git.srv.blob/api/packages/gosuki.net/debian $distribution main" | sudo tee -a /etc/apt/sources.list.d/gosuki.listUpdate package list:
sudo apt updateInstall the package:
sudo apt install gosuki=1.3.1-rc1-1
Note: Replace
$distributionwith appropriate values based on your Debian version (e.g.,trixie,bookworm…). The available distributions and components can be found in the Debian package documentation.
macOS (Homebrew)
brew tap blob42/gosuki
brew install blob42/gosuki/gosuki

# OR with system tray
brew install --cask blob42/gosuki/gosuki-app
Windows
Download the latest Windows binary from the releases page. Gosuki includes a system tray icon for Windows.
BSD (FreeBSD, OpenBSD, NetBSD)
Gosuki is available via the package manager or can be built from source. Standard XDG paths are used for config and data.
Building from source
Requirements
- Go: Version 1.24 or later. Install Go
- SQLite: Ensure SQLite library is installed on your system.
- Git: Required if installing from source or using the Go package.
- Make & GCC: Install
build-essentialon Ubuntu/Debian based andbase-develon Arch based distros
Install using Go
go install github.com/blob42/gosuki/cmd/gosuki@latest

# optional
go install github.com/blob42/gosuki/cmd/suki@latest
This will install the gosuki binary in your $GOPATH/bin directory. Make sure this directory is in your $PATH.
Build from source
Clone the repository:
git clone https://github.com/blob42/gosuki
cd gosuki
Build the binary:
make release(optional) if you want the desktop systray feature
make SYSTRAY=1 releaseMove the binaries to your PATH:
sudo mv build/gosuki /usr/local/bin/
sudo mv build/suki /usr/local/bin/
Running Gosuki
Starting the server
By default the gosuki starts in daemon mode ready to run as a systemd service:
gosuki start 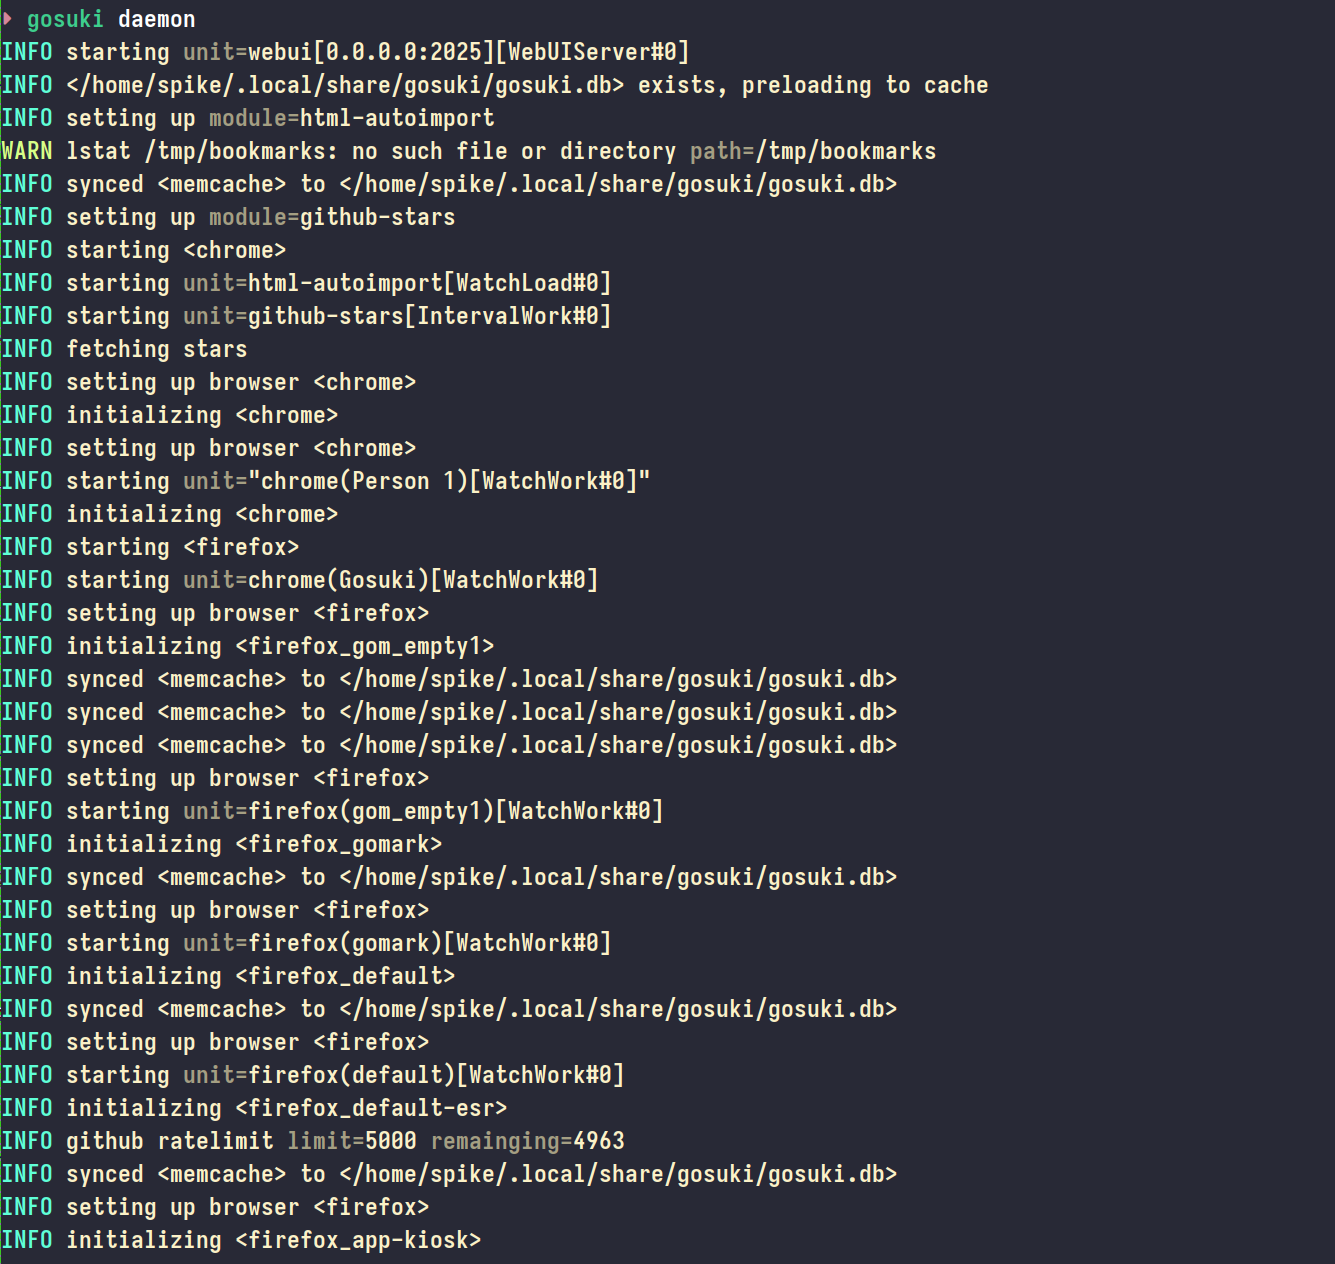
starting the daemon
gosuki --debug=info start 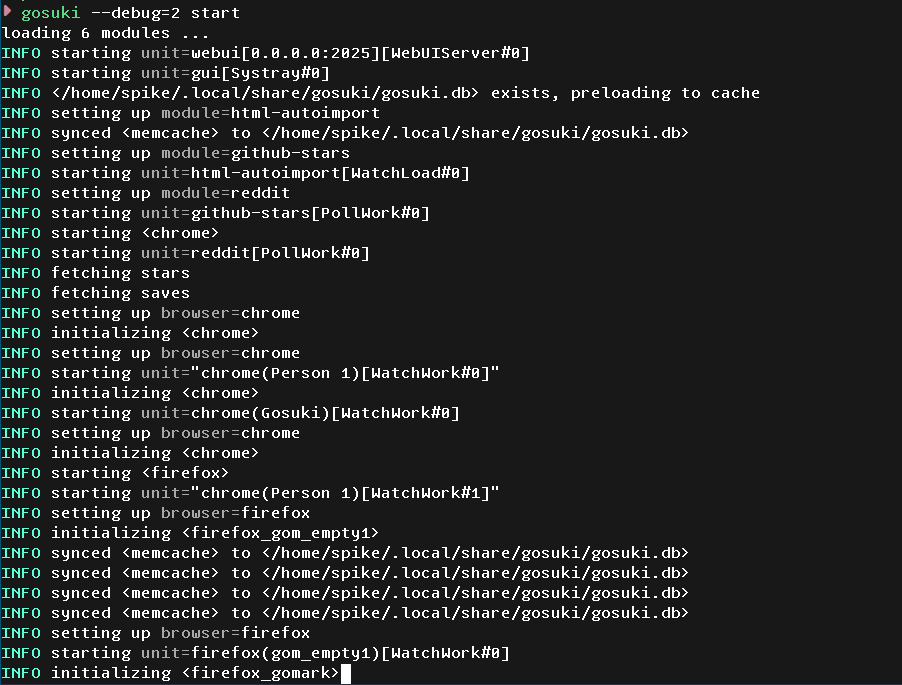
starting the daemon in debug mode
Configure the Web UI listen address with
--listenflag and the P2P sync port with--p2p-listenflag. See config-file for details.
Starting the server in TUI mode
To start the daemon in TUI mode (for debugging or real-time overview ), execute:
gosuki -T start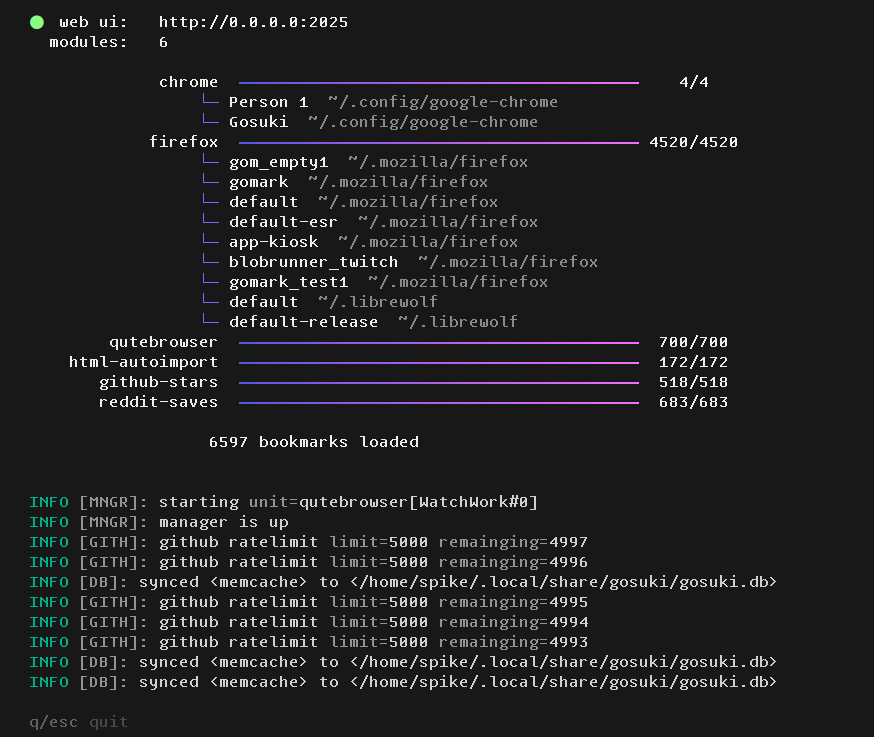
starting with tui
Once started, the daemon will:
Initialization: Detect installed browsers and user profiles, and load configured modules.
Load Modules: Load built-in modules (e.g., GitHub stars, Reddit saved posts).
Load Bookmarks: Load bookmarks from detected browsers and modules into the local database. This happens automatically – no manual intervention is required.
The gosuki binary offers many cli and commands, use gosuki help to learn more.
Accessing Your Bookmarks
You can access and manage your bookmarks in several ways:
- Web Interface: Access the web interface by navigating to localhost:2025.
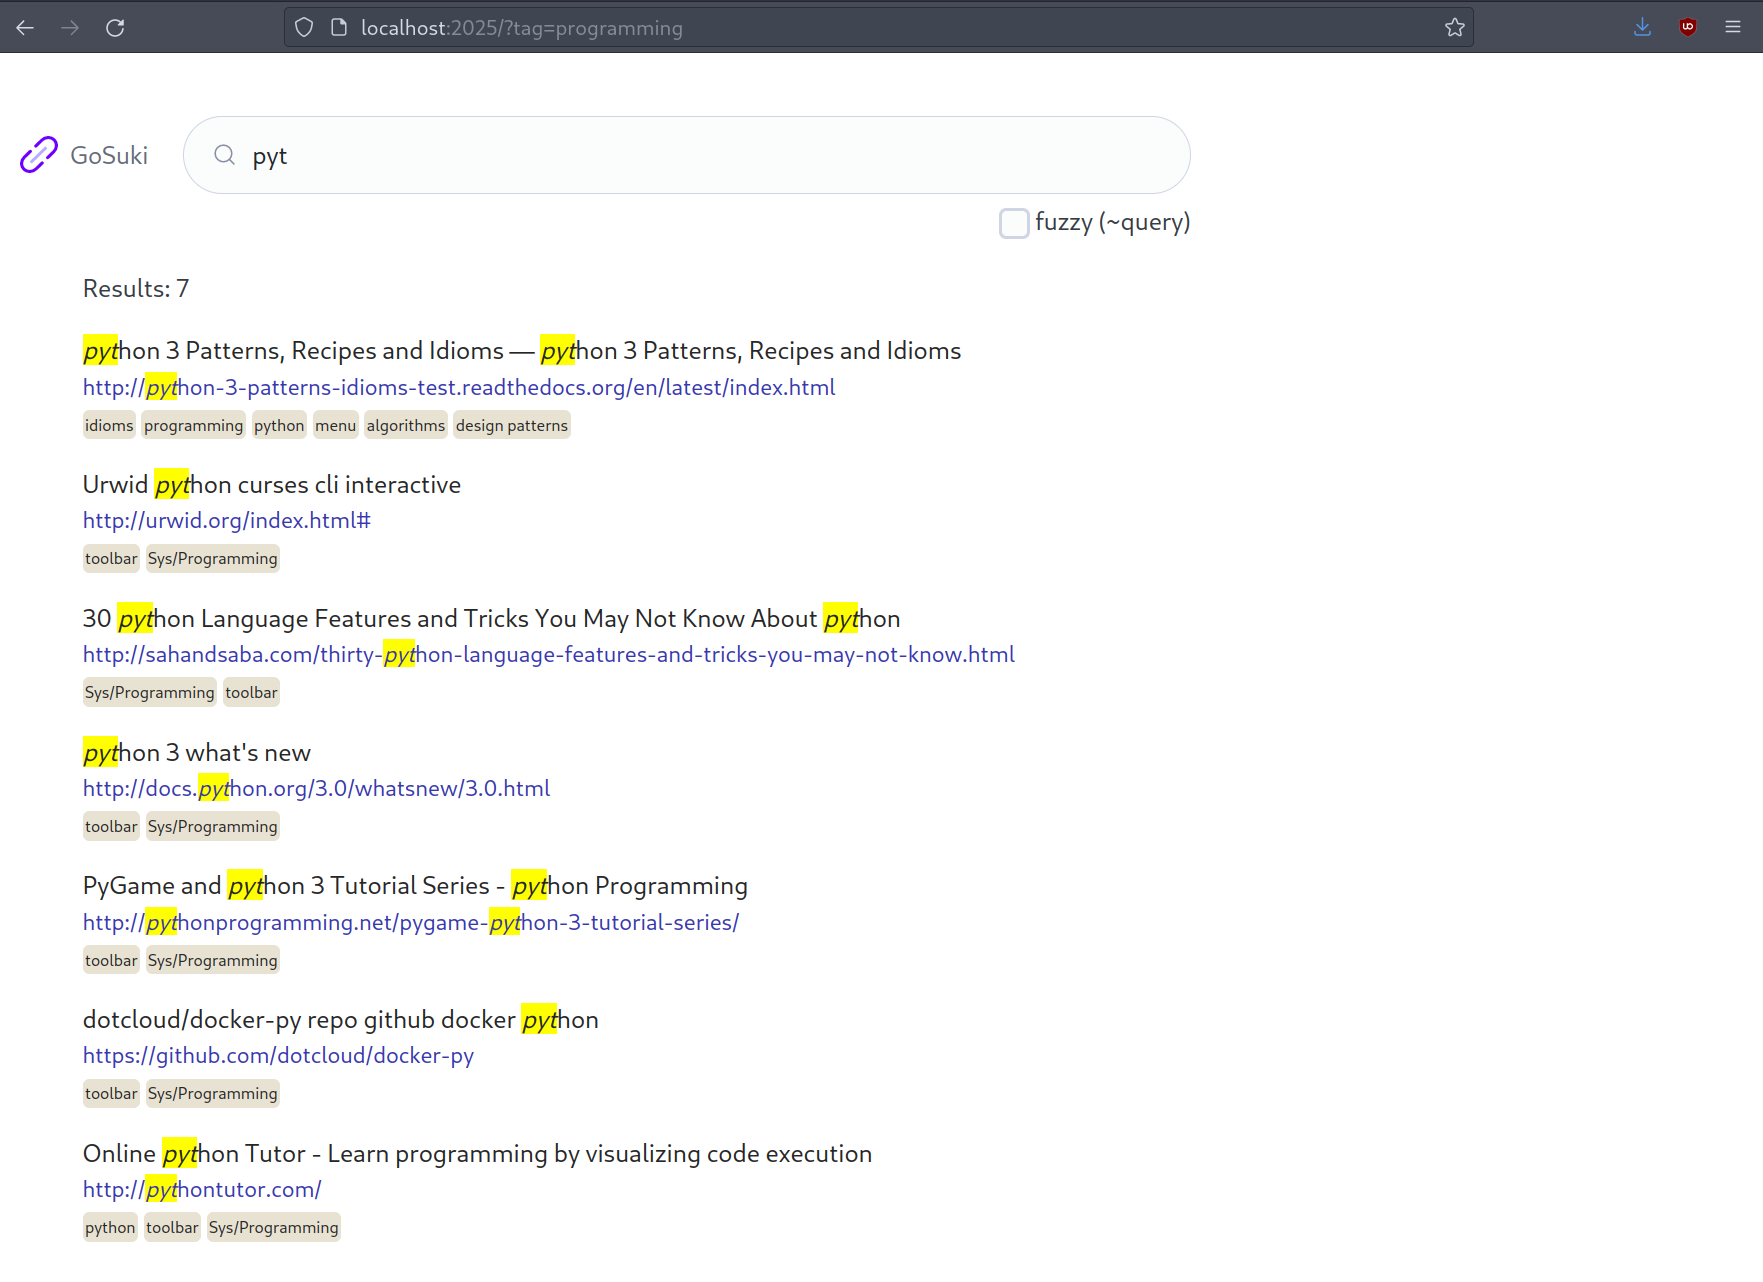
local Web UI
Note
The default binding is 127.0.0.1:2025, meaning the Web UI is only accessible locally. Use --listen 0.0.0.0:2025 to expose it on the network.
- Command Line (
suki): Use thesukiclient for quick searches and filtering.- Sort results: Use
--sort(-s) to sort search results by title, date, or other criteria.
- Sort results: Use
- Buku: Use Buku1 to manage your bookmarks.
Adding Bookmarks
Once Gosuki is running, you can add bookmarks using your browser’s native tools, and Gosuki will automatically detect and save them. Here’s how it works:
Browser Integration
- Native Shortcut: Keep browsing as usual. When you add a bookmark using your browser’s native shortcut (e.g.,
Ctrl+Don Linux/Windows orCmd+Don macOS), Gosuki will detect the change and save the bookmark to its database. - Real-Time Availability: The newly added bookmark will immediately appear in both the
sukiCLI tool and the web UI.
See the Browser Support Matrix for the full list of supported browsers.
Tag Support
- Automatic Tag Detection: If you add tags to your bookmark, Gosuki will automatically pick them up and associate them with the bookmark.
- Chrome Workaround: Since Chrome doesn’t natively support tags, you can include tags directly in the bookmark title in the “Add Bookmark” popup (e.g.,
My Bookmark #work #notes). - Firefox Native Support: On Firefox-based browsers, tags are supported natively through the browser’s interface.
Folder Hierarchy Become Tags
Bookmarks organized in folders will be automatically flattened into a tag-based system. For example, a bookmark in a “Work” folder might be tagged with #work automatically.
Interoperability with Buku
Gosuki is fully interoperable with Buku, a popular command-line bookmark manager. Gosuki emulates the database format of Buku, allowing:
- Buku to use Gosuki’s database: Buku and Buku apps can directly access and manage bookmarks stored in Gosuki’s database.
- Seamless migration: You can migrate your existing Buku database to Gosuki by using the
gosuki buku importcommand, which imports all Buku bookmarks into Gosuki’s database.
Importing Buku Bookmarks into Gosuki
To import bookmarks from an existing Buku database into Gosuki, run:
gosuki import bukuThis command will load all bookmarks from your Buku database into Gosuki, allowing you to manage them using Gosuki’s features while maintaining compatibility with Buku tools.